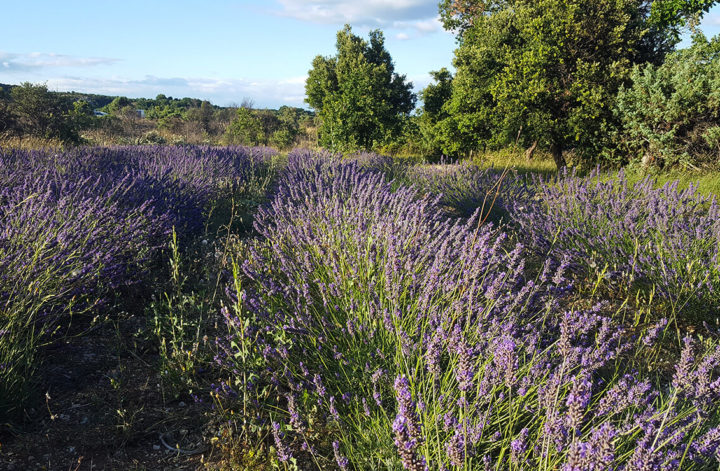
This summer, a new workshop has been proposed to you, highlighting nature in the sun: the cyanotype. An ancient photographic printing process, perfectly adapted to our region and in line with our nature-related activities.
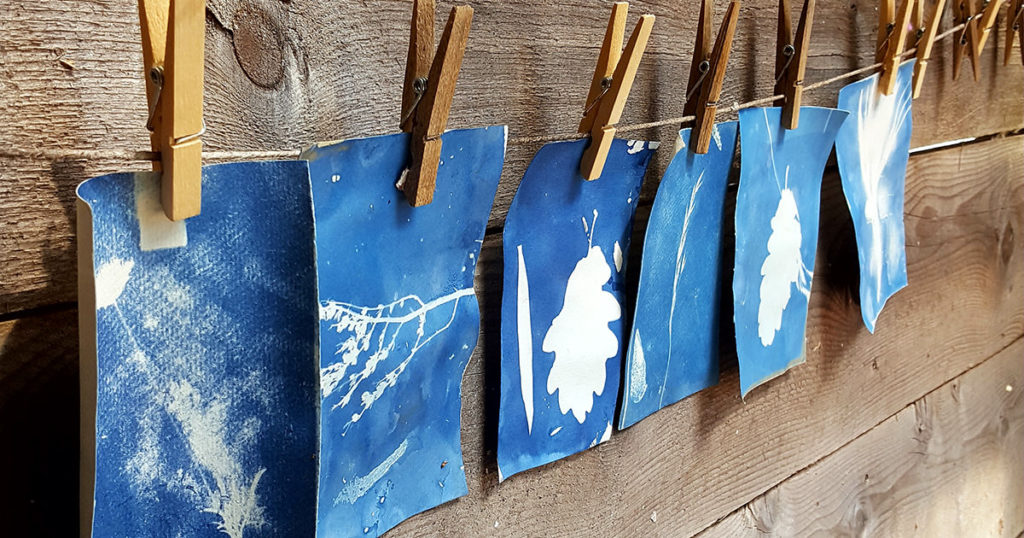
The cyanotype is a process invented in 1842 and recently brought up to date thanks to its great creative possibilities. In fact, a negative print of a magnificent blue colour is obtained after a few minutes exposure to the sun.
Material for the cyanotype workshop
The list may seem a bit long, but apart from the specific chemicals you’ll need to procure, you probably already have everything.
- ferric ammonium citrate
- potassium ferricyanide
- a pipette, measuring cylinder, or any container that measures
- a brush, a small roller
- one soup dish
- thick paper
- a transparent plate (such as picture frame glass)
- a rigid support
- Clothes pegs
- a basin of water
- plants for “printing”.
To get the chemicals, we recommend this site, where you can also find syringes to dose the products and foam brushes as we use here.
Preparation of the workshop
Before starting, we go in search of plants, flowers, leaves, feathers, etc. which we will then cyanotype. If you have time, you can do this step a few days before to dry them and create a herbarium. The only constraint is that the elements must be relatively flat. You will see why afterwards.
Then, on THE day, mixthe same volume of ferric ammonium citrate and potassium ferricyanide in a shallow dish to create the sensitizer solution – a yellow liquid – that will react in the sun.
Finally, fill a basin with water to rinse the leaves after exposure. Et voila, we’re ready!
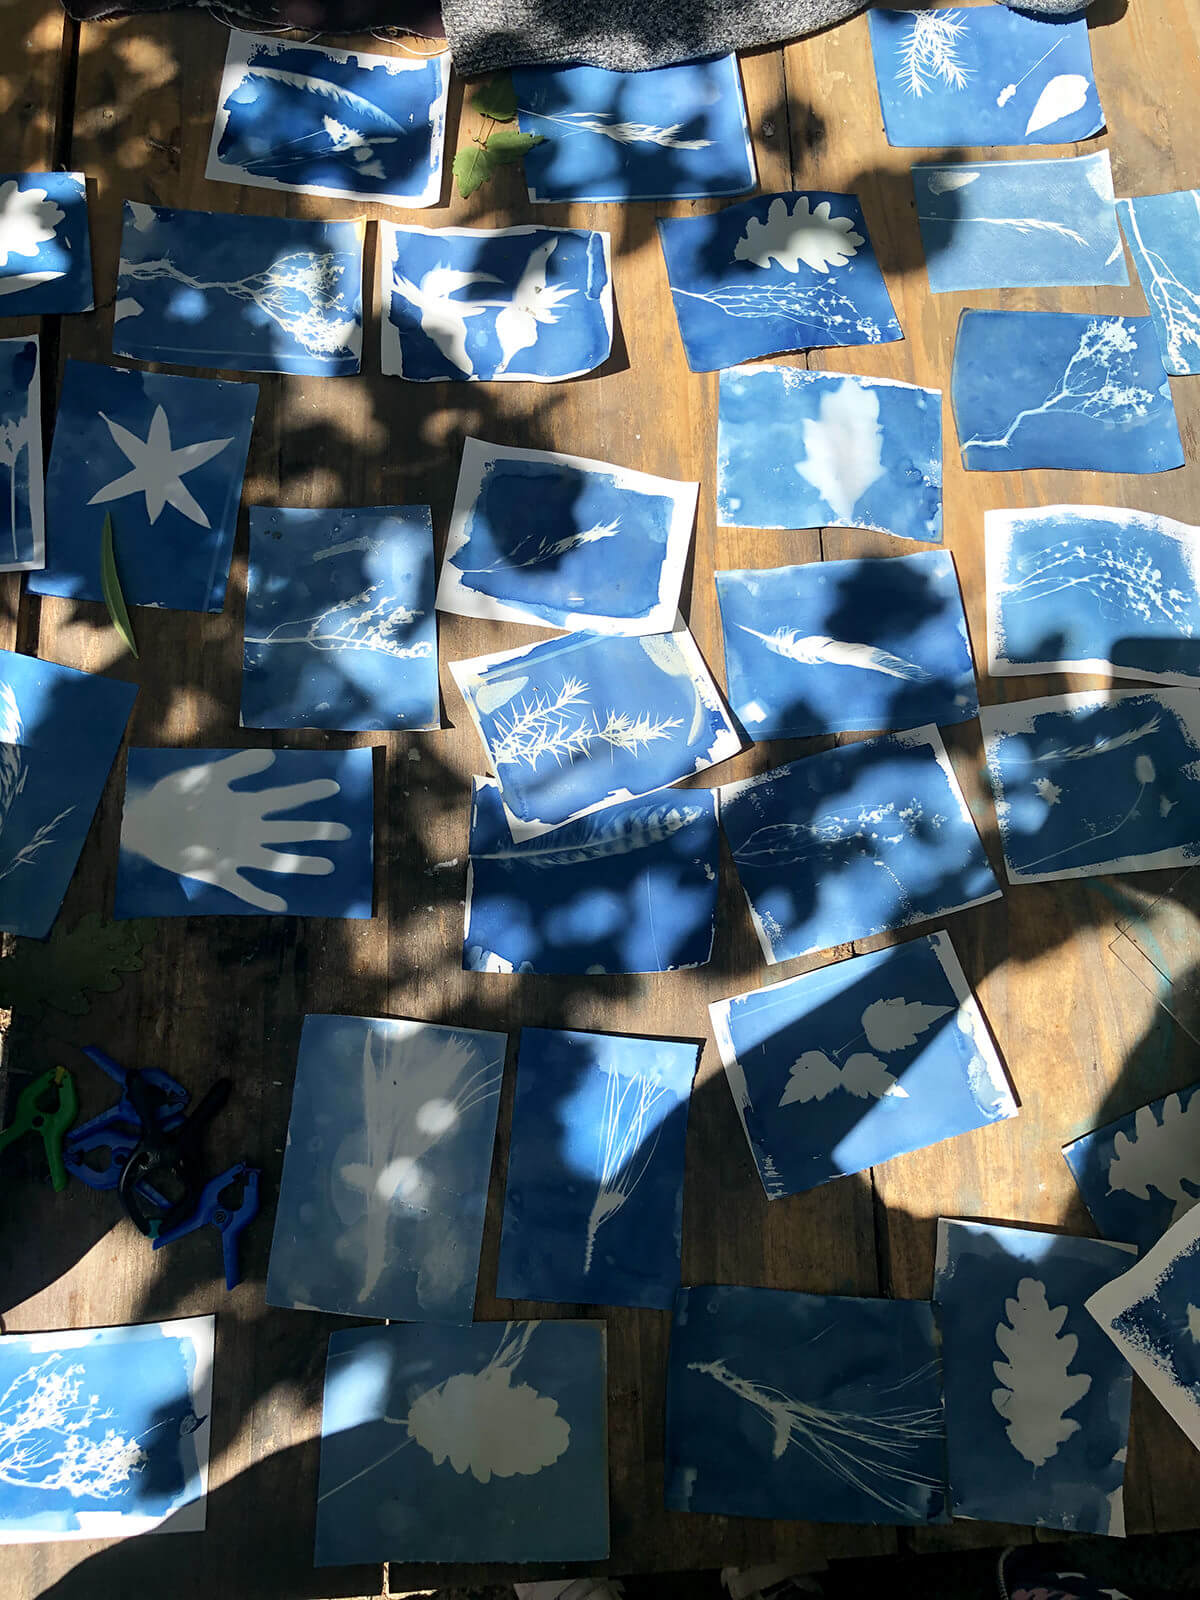
The cyanotype workshop in 4 steps

Step 1: Coating the leaf
Nothing could be simpler, soak your brush in the yellow liquid and brush your sheet. Let it dry for a few minutes in the open air.
Warning, the product reacts quickly to UV rays, especially in summer. It is therefore necessary to carry out this step sheltered from the sun: indoors or outdoors under a house shelter as we did.
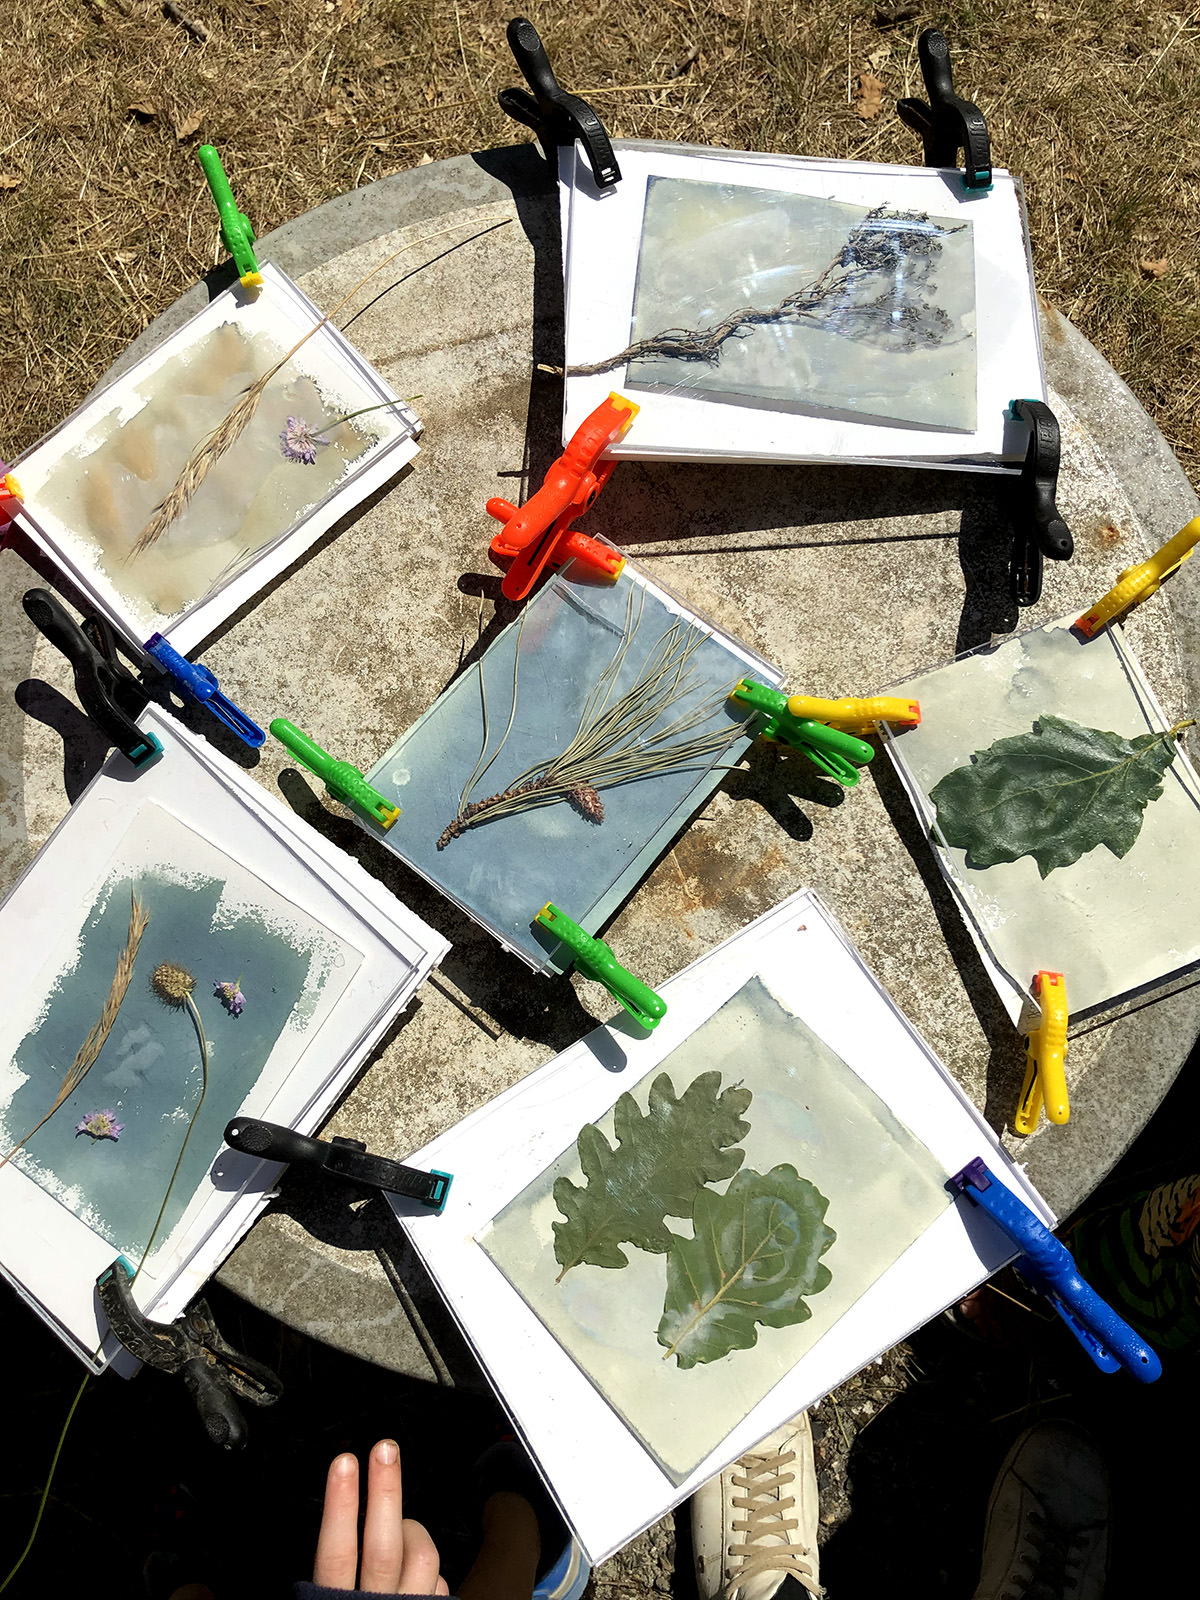
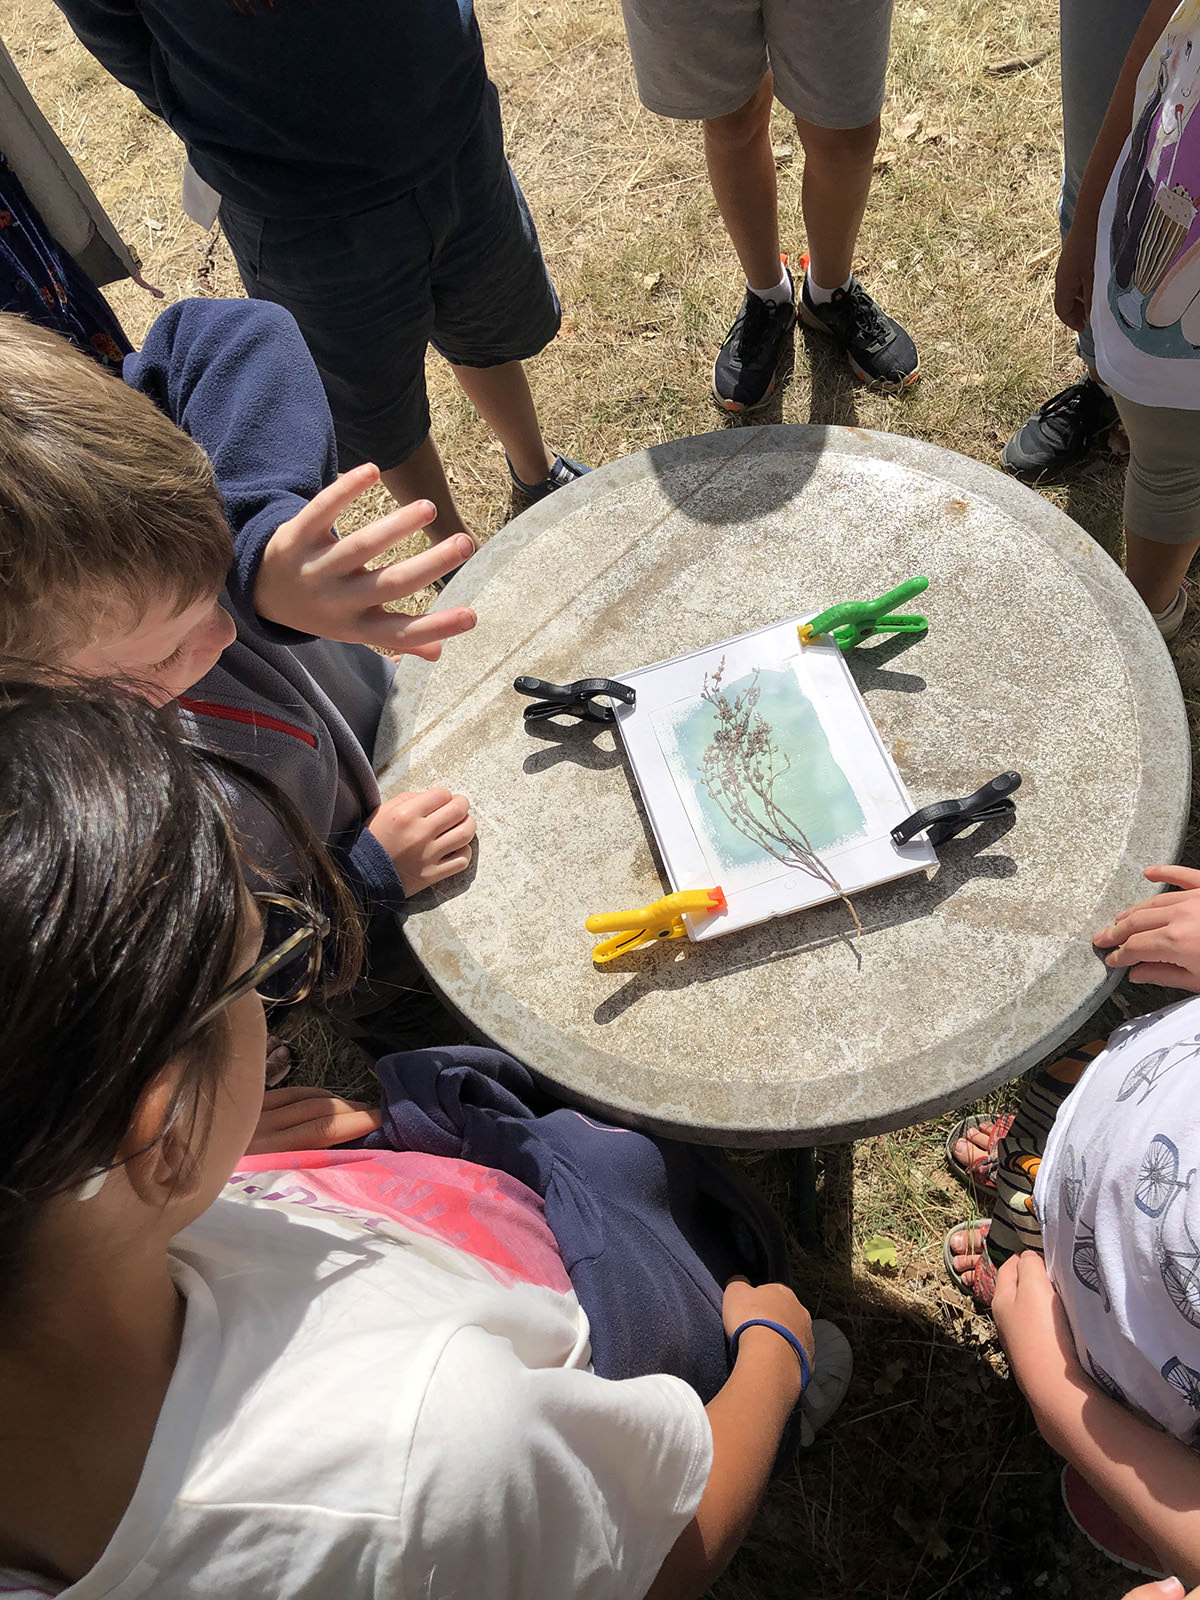
Step 2: compose, create
This is the creative stage, the moment to express yourself, to experiment. Place the plants you have found on the coated sheet, then lock the whole thing between the rigid support and the glass with the clamps. This way, thanks to this small home-made press, you can be sure that nothing will move during exposure to the sun.
Step 3: expose your sheet to the sun
Once everything is securely locked in place, place your assembly in full sunlight. In summer, at the height of the day, it only takes 10 minutes to get a beautiful blue. In winter, it can take several hours. The exposure time will cause the shade of the blue to change and make the details more or less visible. We let you experiment.
At this stage, you get a rather greenish colour, which is normal.
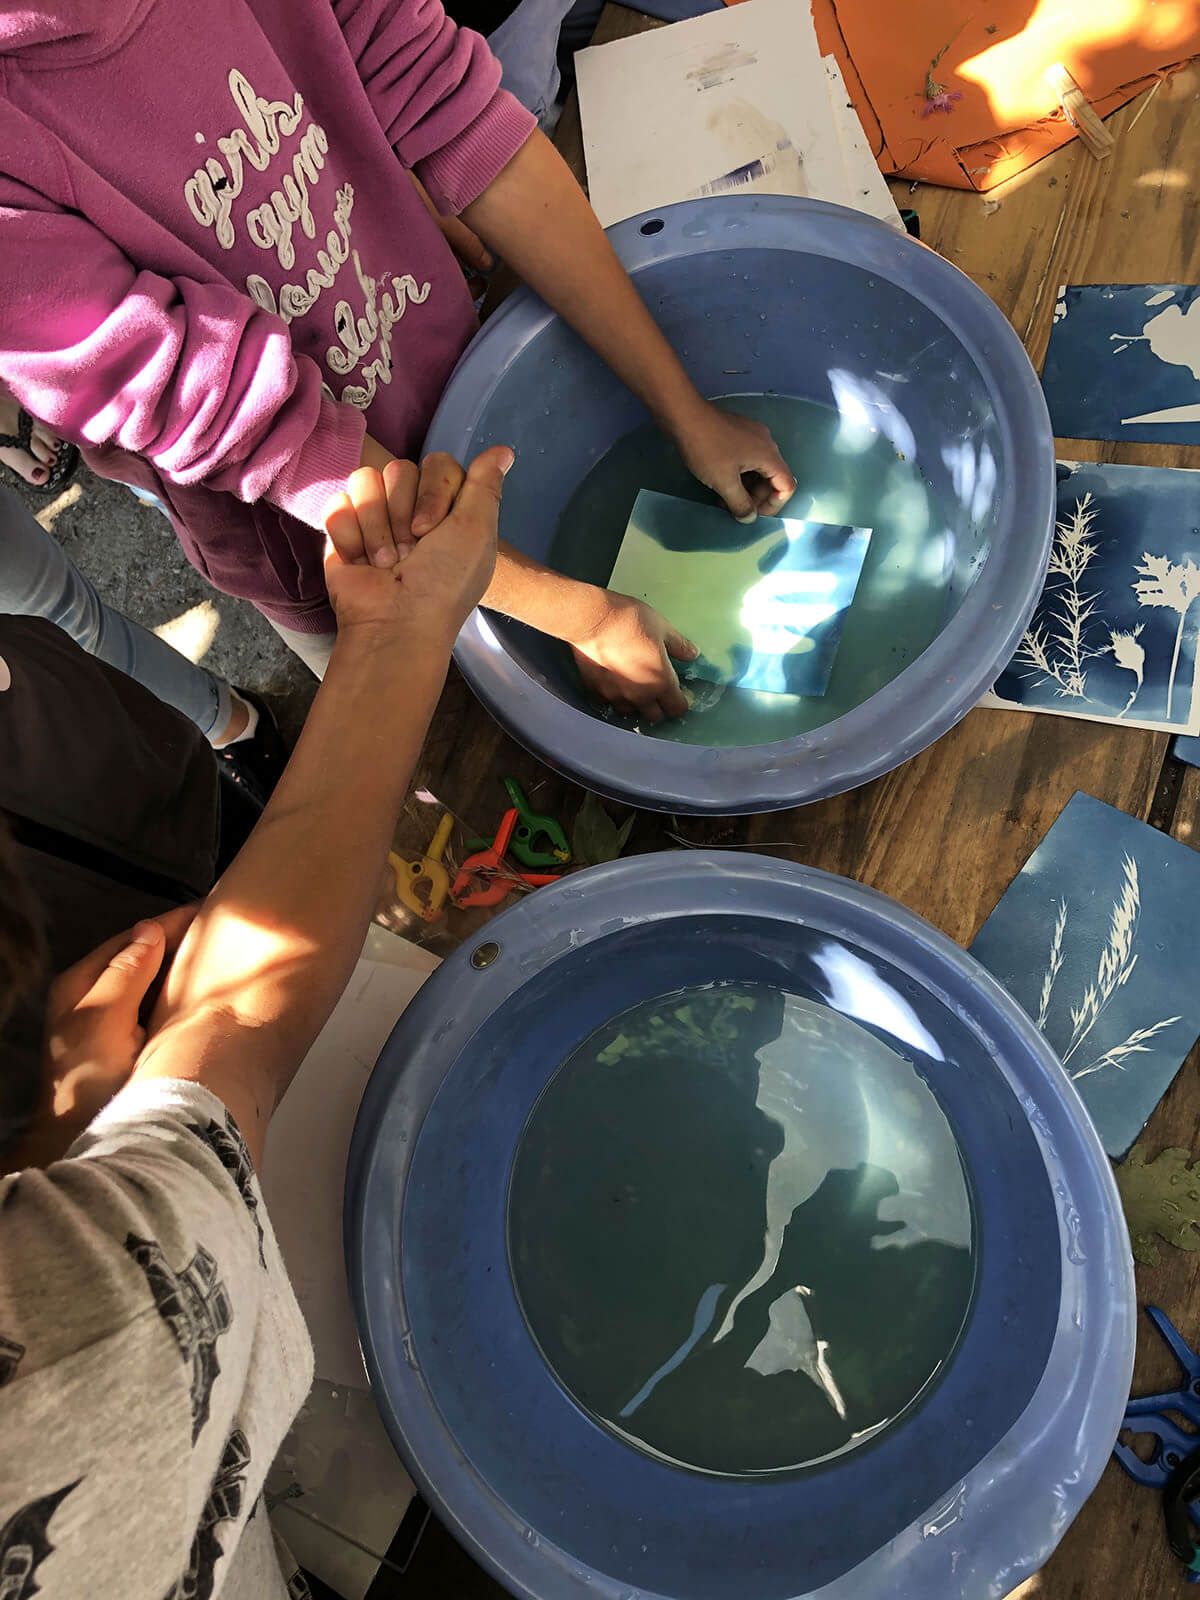
Step 4: Rinse off your cyanotype
Rinsing is the magic step. It is the moment when you see your design and that special blue appear.
Dismantle your small home-made press and quickly immerse your sheet in the water basin. You will see that under the plants, the product has remained yellow because it has not caught the sun. Don’t wait too long so that it doesn’t turn blue. Gently shake your leaf in the water to clean it – it should be white where it has not been exposed to the sun. Your design appears, and so does the blue!
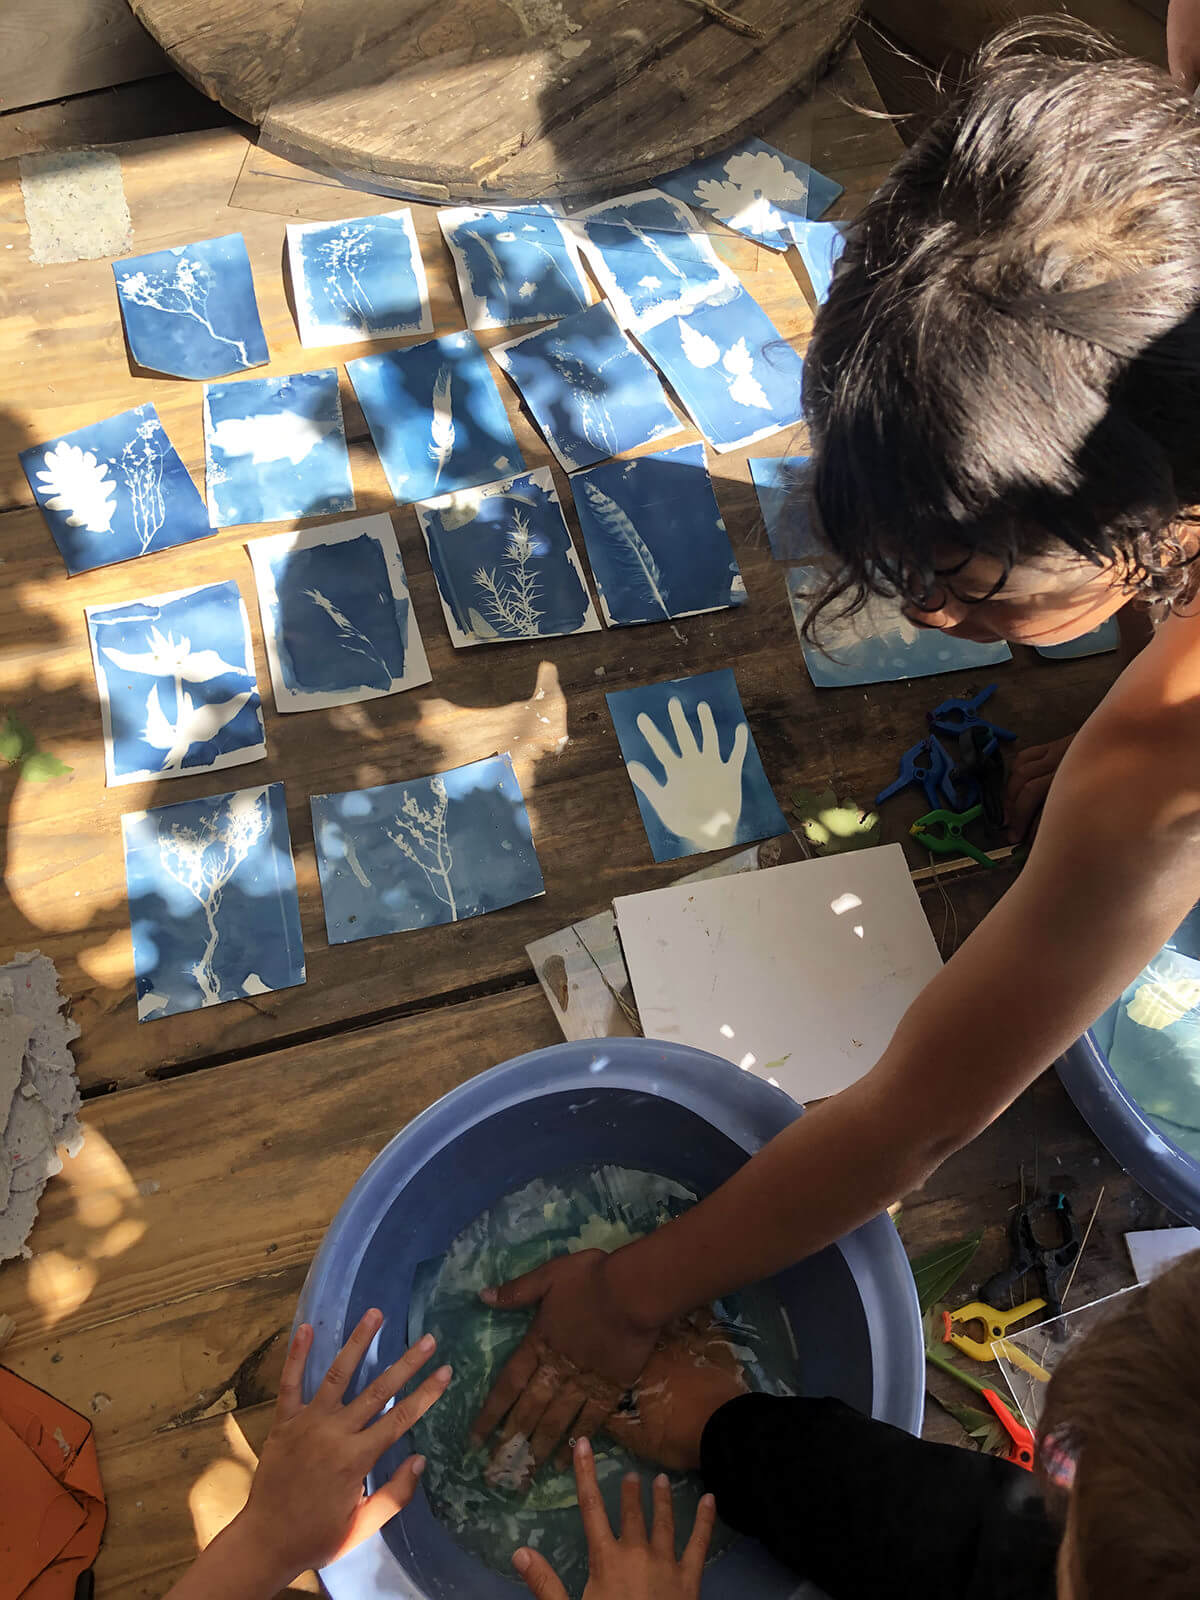
All you have to do is let it dry… and start again!
You are ready to follow in the footsteps of Anna Atkins who contributed to the popularisation of the cyanotype in the 19th century by publishing herbariums.
– Romain & Jess